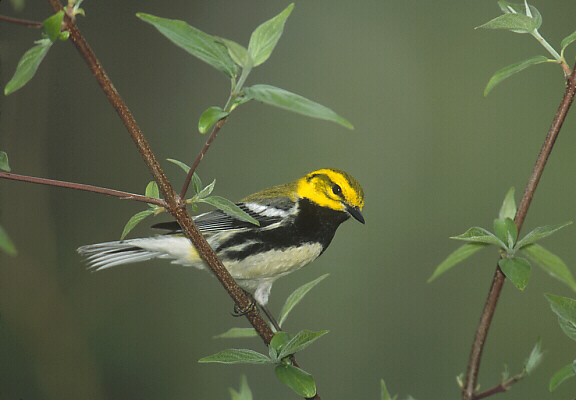
Black-Throated green
Photographing Migrant Warblers
by © Brian L. Zwiebel

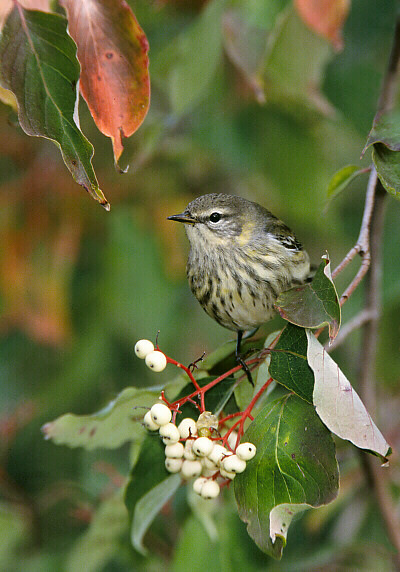
Palm Warbler
Migrant warblers are among the most difficult photography subjects. They hide in the leaves, often in dark shadow. They chase insects at an alarming rate and often spend their lives in the tops of tall trees. In addition to this, they are very small and rarely sit still for more than a second or two. Five seconds with a cooperative warbler, posing in the open, is a relative eternity in warbler photography.
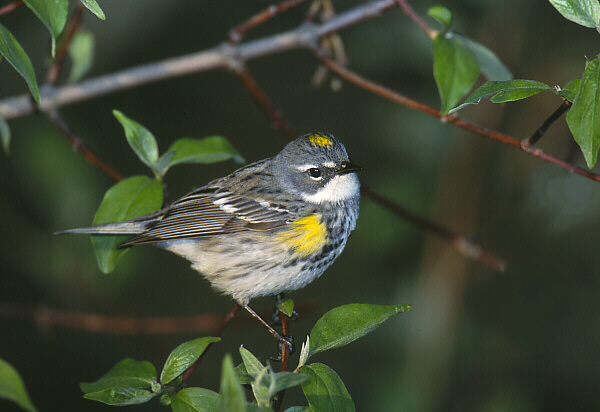
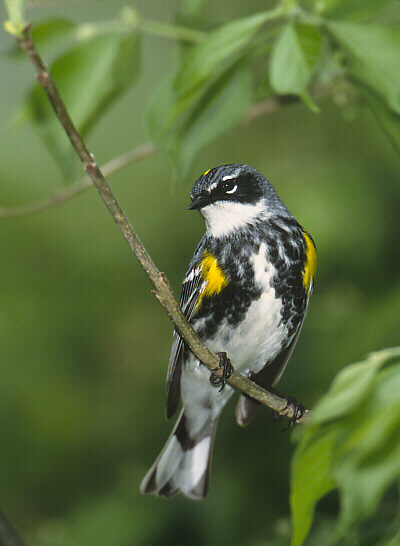
Yellow rump Yellow rump
Of course, all of the above indicates there are actually warblers present to photograph. Warblers typically migrate north through the continental United States in April and May. They may even start their northward migration in March in areas such as south Texas and Florida. The warblers arrive further north as the season progresses, reaching the northern tier of states by early to mid-May. The fall migration, mainly September and October, is often over looked by warbler photographers but it can be productive as well. Some years I have been more successful with warblers in the fall than in the spring. Many of the warblers will be in a less vibrant plumage and some will be extremely difficult to identify to species. The good news is some species of warblers will consume the ripening berries during fall migration. It is much easier to photograph a warbler that is sitting in a low bush eating berries than it is to photograph one chasing insects through the tops of trees! Checking local birding resources such as books, rare bird alerts, discussion forums, and birding groups is a good way to pinpoint the timing of warbler migration in your area.
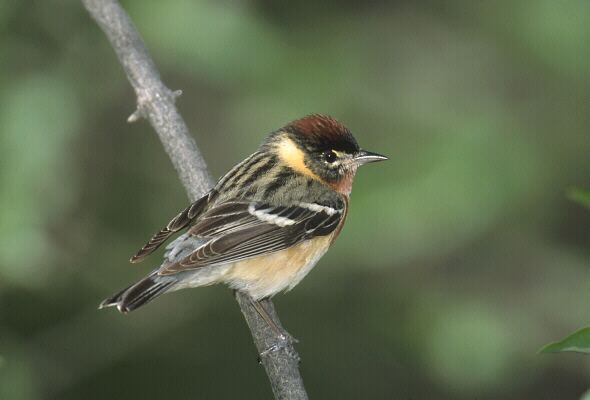
Bay- Brested
Weather plays a key role in the success of any warbler photographer. Dry, still and warm conditions generally result in the birds being in the tops of large trees, which is an impossible situation for photographing warblers. Storms and strong winds can be a blessing in disguise for warbler photographers. Overnight storms can cause fallouts where in the morning birds will be low to the ground, exhausted and hungry, making them much easier to photograph. Strong winds will typically cause the warblers to be lower but the movement of leaves and branches may make it impossible to find a warbler in the viewfinder. In strong wind conditions I prefer to work the leeward side of a woods. The birds tend to be pushed here anyway and the windbreak makes for easier shooting conditions.
So, where should you go to photograph these beautiful migrant warblers? My favorite, Magee Marsh near Toledo, Ohio, is only a 15-minute drive for me. Other well-known warbler hot spots include Point Pelee in Ontario, Canada, Central Park in New York City, and any number of locations along the gulf coast from Texas to Florida. Any city park can be an oasis among a concrete jungle. The gulf coast locations are the first available land the birds have seen after flying hundreds of miles across the Gulf of Mexico. On good days most any woodlot will do as I have had some success photographing warblers in my own back yard. You will want to check with local birding groups for a migrant trap near you.
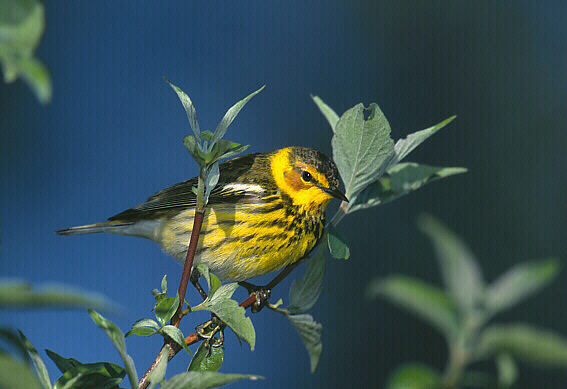
Cape May Cape May
Let’s consider what equipment you will need to successfully photograph migrant warblers. Common practice for trying to photograph warblers has been to mount your longest telephoto lens on a heavy tripod, add a teleconverter and an extension tube as well as a flash and bracket. I use a Canon Eos 1-v usually with ISO 200 film, a 500mm f/4 image stabilized lens almost always with the Canon 2xII teleconverter and the Canon 25mm extension tube attached. This combination provides me with a 1,000mm f/8, lens that auto focuses down to about 12 feet. I then use an off shoe flash cord to put the Canon 550ex flash on a bracket above the lens. The bracket allows the flash to stay upright when I rotate the lens in the collar to shoot in vertical format. Elevating the flash also reduces steel eye (similar to red eye) in warblers and other songbirds. In addition to this I use a Better Beamer flash extender, which is a bracket that holds a plastic fresnel lens in front of the flash head to project the flash up to 3 times further. I also utilize a quantum external flash battery to decrease the amount of time it takes the flash to recycle.
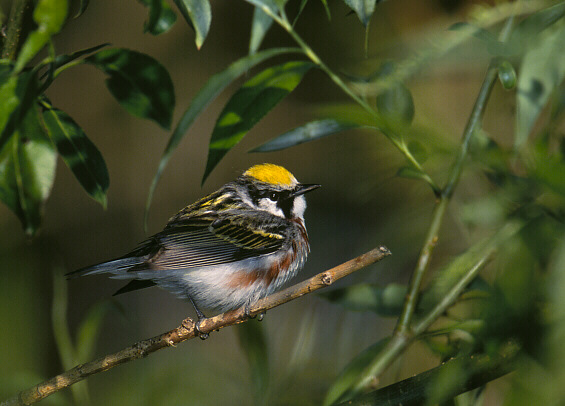
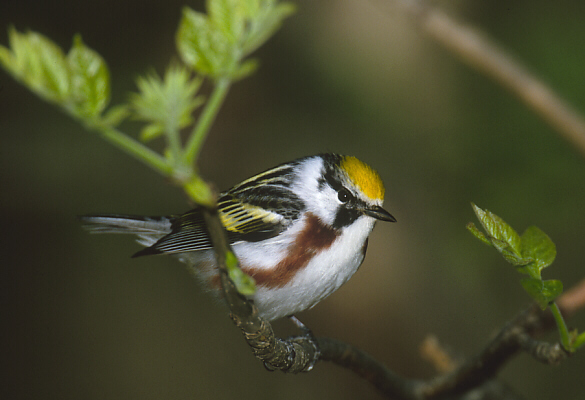
Chestnut-sided Chestnut-sided
Some photographers have had great success utilizing
a much simpler set up. Hand holding a 400mm f/5.6 lens attached to a digital
camera body with flash has proven to be just the ticket for greater maneuverability
when the warblers are at point blank range and flitting through thicker
vegetation. It is also a viable alternative for working in crowded situations
when confined to a boardwalk or while surrounded by hundreds of birders
at one of the well-known warbler hot spots.
My favorite technique for photographing warblers involves heading to my
local migrant trap during the appropriate season. I first work the edge
of the wood from the east to put the morning sun behind me. Moving slowly
and quietly is the best way to detect the presence of warblers. Notice
how the leaves and branches are moving from any wind that might be present
then look for variations in this movement caused by the warblers flitting
about. Once a bird is detected quickly set your camera up and observe
the bird to see which direction it is headed. Find the bird in the viewfinder
(easier said than done) and follow the bird’s movements using manual
focus to keep the bird somewhat focused in the viewfinder. When the bird
hits an opening and pauses for a moment I use auto focus to lock onto
the bird and press the shutter. Most of the time you will be lucky to
get off one shot but sometimes the sound of the shutter or the firing
of the flash will cause the bird to pause longer. In these cases you can
concern yourself with adjusting the composition, changing your exposure
or making a soft kissing sound in an attempt to get that perfect head
turn.

Magnolia
Speaking of composition, most often if a warbler is large in
the frame placing the center auto focus sensor on the eye will provide
a nice composition. If the bird is really big in the frame be careful
not to cut off its feet or tail with the edge of the frame. If the bird
is smaller in the frame it is best to use the rule of thirds to place
the bird on one of the power points when composing your image, if you
have time. It is far better to shoot the bird in the center of the frame
then crop later than it is to miss the shot completely!
On matters of exposure there are a few things to keep in mind. With warblers
it is best to photograph them with a faster shutter speed. I have never
taken a warbler photograph at less than 1/60th of a second due to subject
movement constraints and I rarely stop down from wide open. In situations
such as dark shade where the ambient lighting calls for slower shutter
speeds I use flash as main light to expose the bird. I simply select the
widest aperture, set the shutter speed to 1/60th or 1/80th of a second
and set the flash compensation to –1/3 for most warblers or to zero
for the darker warblers that lack extensive highlights.
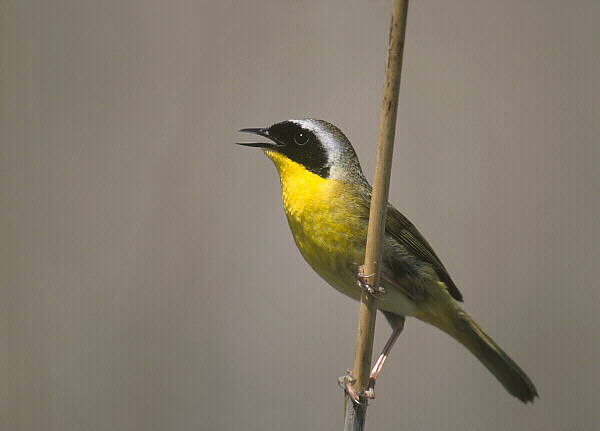
Common
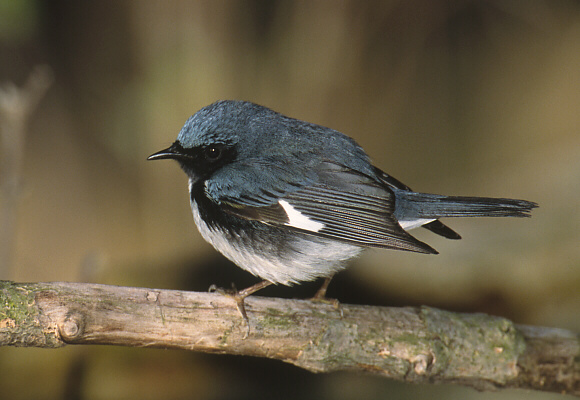
Yellowthroat Black-throated
blue
I much prefer to shoot warblers without using the flash as the main light source. Your images will look much more natural if the ambient lighting allows you to shoot at 1/60th of a second or faster so that flash is not needed. I do however still use the flash as fill nearly 100% of the time, even if the ambient lighting is sufficient. Using flash as fill can bring a warbler to life by providing a catch light in the eye and helps to reduce any stray shadows that might fall onto the bird. When using flash as fill I set the flash compensation to –1 or –1 1/3 again, depending on the overall tone of the bird.
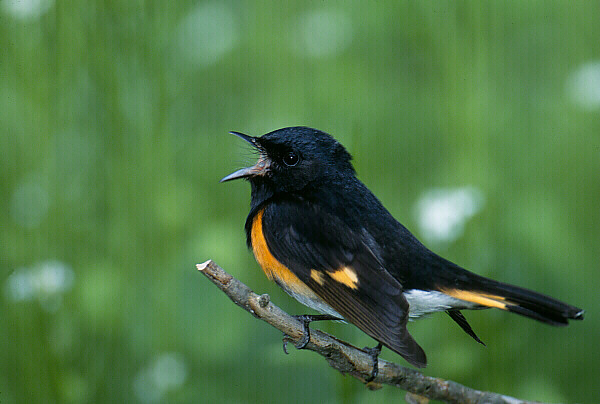
American Redstart
Do keep the tone of your background in mind when photographing warblers. If you are shooting up at the bird you will often have a large amount of sky in the background. If the sky consists of bright clouds your meter will be fooled into underexposing your image, especially if the warbler is not in full sun. Choose a slower shutter speed than recommended by the meter or increase the amount of flash used. Conversely, when shooting warblers at eye level or lower there is a chance for the background to be in dark shade, appearing nearly black in the viewfinder. In these situation the meter will be fooled into setting too slow of a shutter speed. In the resulting image the bird will be blown out, especially the white and yellow highlights.
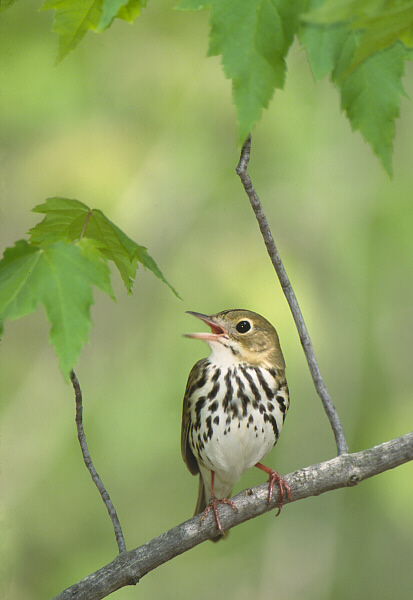
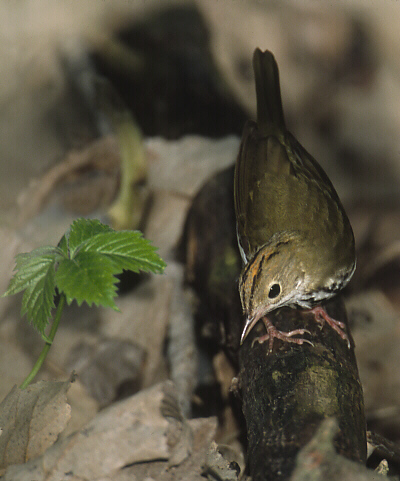
Ovenbird Ovenbird
Some warbler photographers have had great success
using a water drip set up to attract migrant warblers. I can honestly
say I have never tried it, mainly because I am skeptical as to how productive
it will be in my area due to the availability of fresh water. Those living
in dry climates or photographers who are able to pursue warblers along
the Gulf Coast may want to try this method. Basically, a fresh water puddle
can be created by digging out a small hole and lining it with plastic.
Fill the hole with fresh water and suspend a jug of water above the puddle.
Create a dripping effect by punching a small hole in the bottom of the
jug. Passing migrant warblers will be drawn to the sound of the trickling
water and will use the puddle to bathe and drink. Be sure to set up an
attractive perch near the puddle so you can photograph the warblers and
other songbirds as they come and go.
So, considering all the difficulties, why would anyone want to photograph
warblers? To me they are beautiful birds with many vibrant colors. In
spring the woods are alive with their songs. The great variety of species
is also a factor. On really great days it is not unusual to see 20 species
of warblers and a dedicated photographer could see 30 species in a single
spring season. In addition, it only takes one really good shot to keep
you coming back for more.
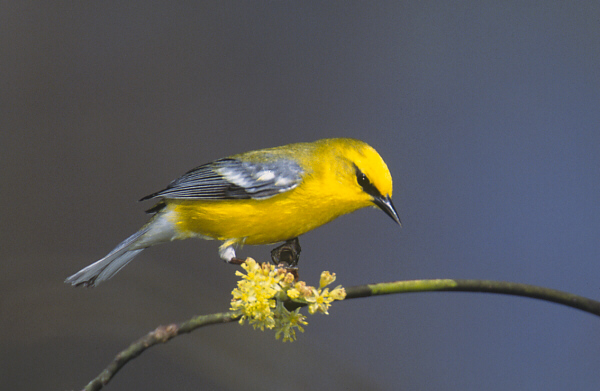
Blue-winged